Although this post is not very related to the theme of this bog, I decided to add this procedure to be used as reference in other posts in order to provide steps to create a virtual server for testing.
In this procedure, I am using VirtualBox as virtualization software and CentOS as operating system. Why CentOS? My experience is mostly based on RedHat based Linux servers. Here we have 2 free choices, Fedora and CentOS. I believe Fedora would be a good choice but CentOS seems more stable and similar to RedHat so I decided to go with CentOS.
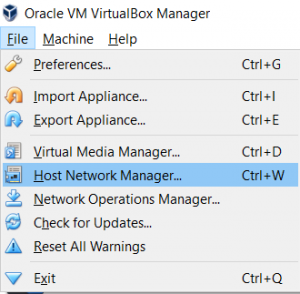
I assume VirtualBox is already installed. If not, here is the link to download and install it:
https://www.virtualbox.org/wiki/Downloads
While I write this post, version 8 for RedHat based operating systems were already released (RedHat 8, Oracle Linux 8, CentOS 8 etc). However, it is a quite new release for today. So, I decided to use Linux 7 which is more common in production environments and there is plenty of information on web.
Here is the download link:
http://isoredirect.centos.org/centos/7/isos/x86_64/
Download OS image CentOS-7-x86_64-DVD-1908.iso
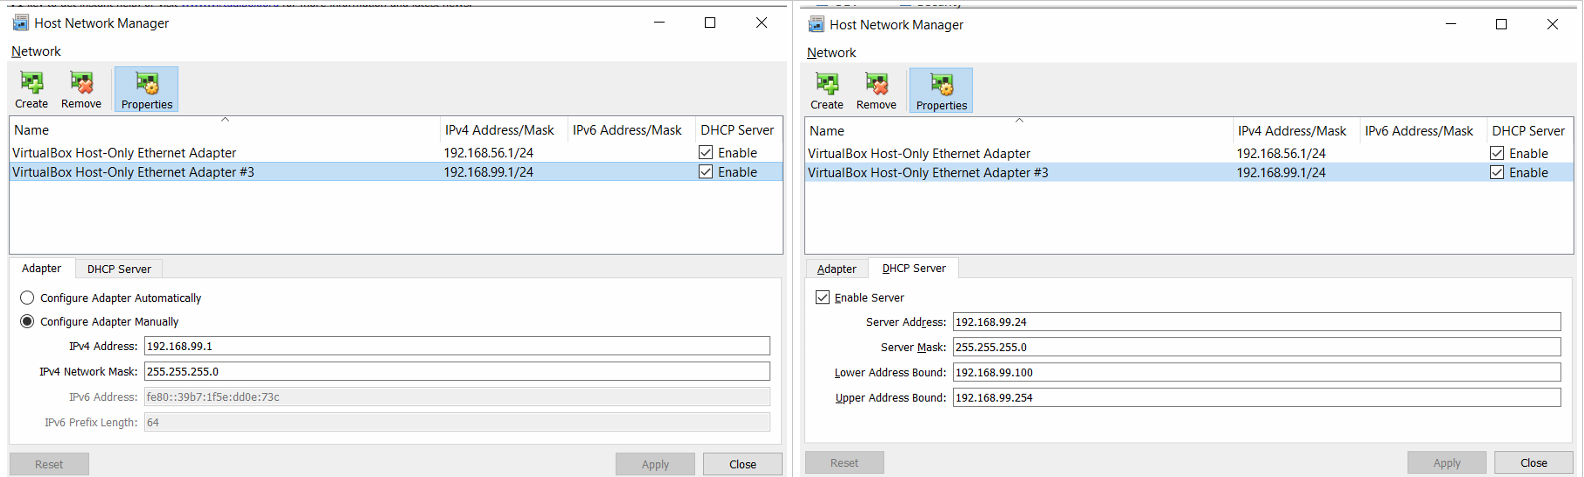
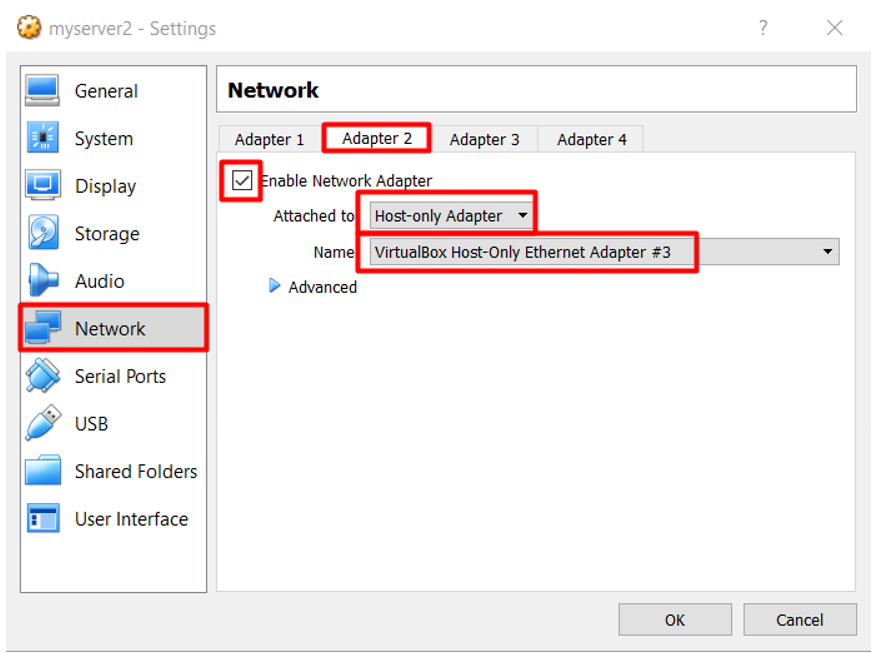
Setup VirtualBox private network
This is not a requirement, however, I always find it useful to create a private network for my lab servers to isolate lab network.
In this example, I configure 192.168.99.0/255.255.255.0 as private network
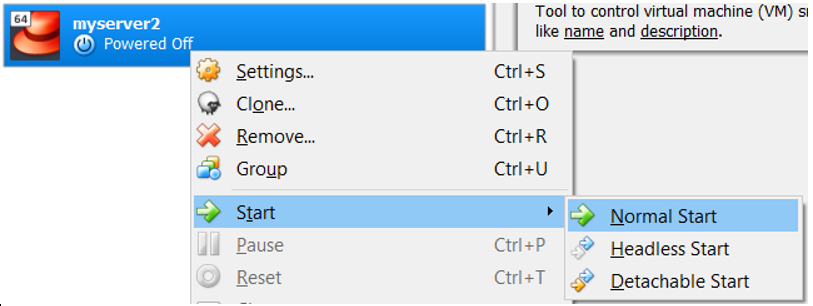
Creating VirtualBox server
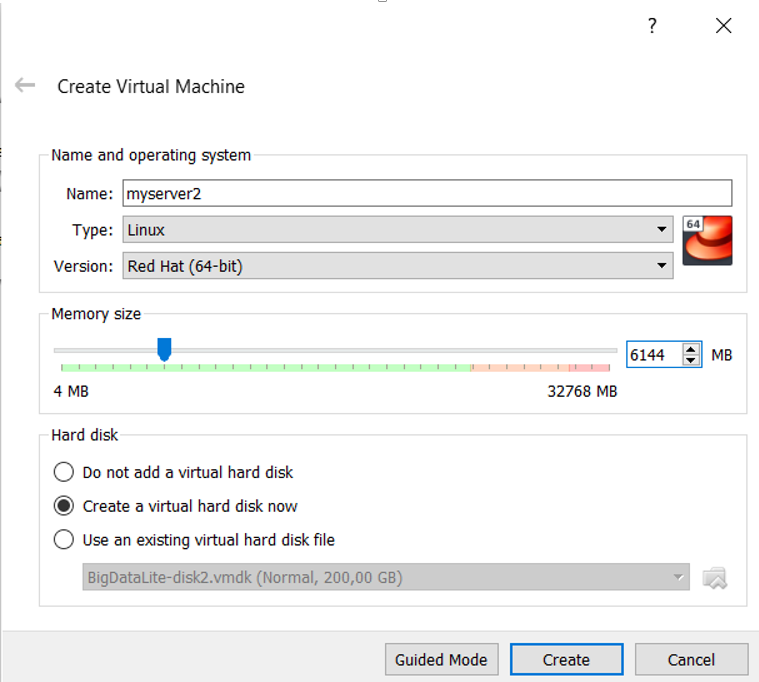
After creating private network, we can continue creating our virtual server. In this example, the name of the server will be myserver2.
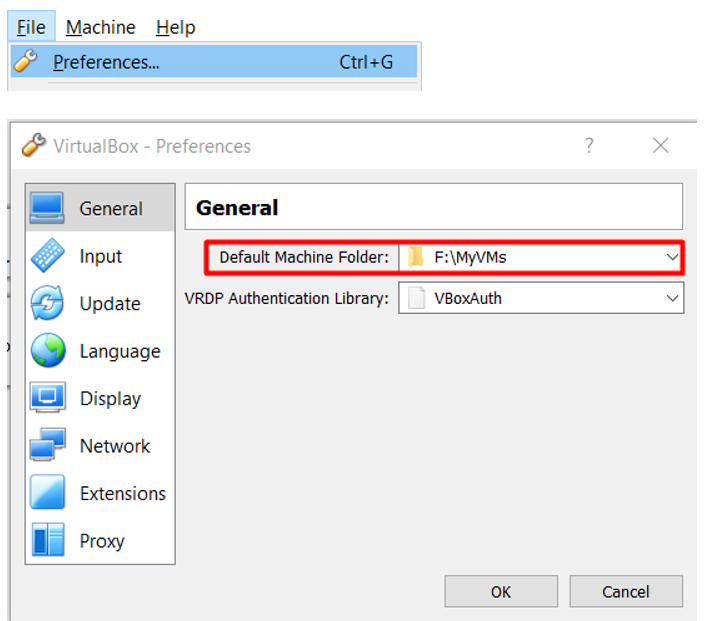
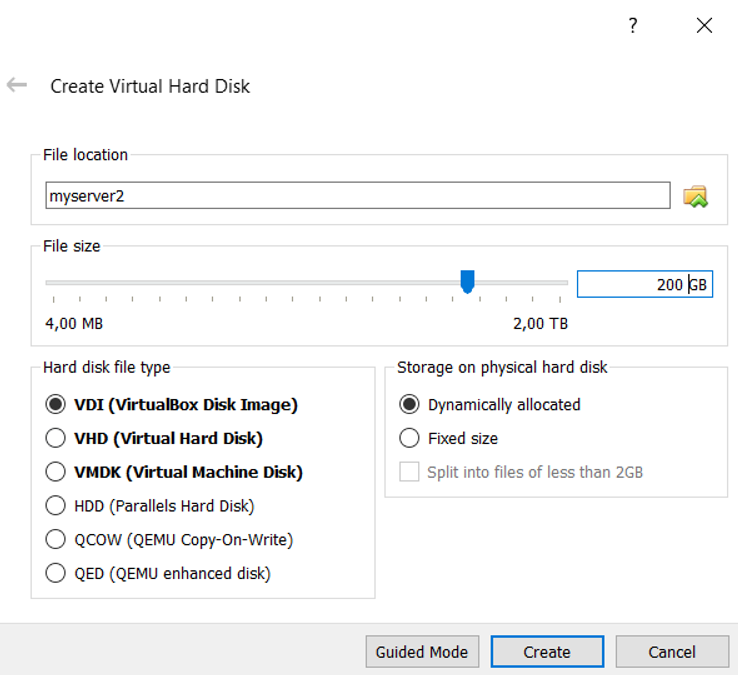
By default, VirtualBox does not allow you to select where to put virtual machine. It is always created in default machine folder. Although it is possible to move machine folder later, I prefer setting default machine folder in the beginning to put it where I prefer.
Now, it is time to create virtual machine in VirtualBox. You can setup machine memory and disk size differently depending on your needs. Cpu and memory can be changed easily after, however, changing disk size is more complicated. So, be careful with the disk size.
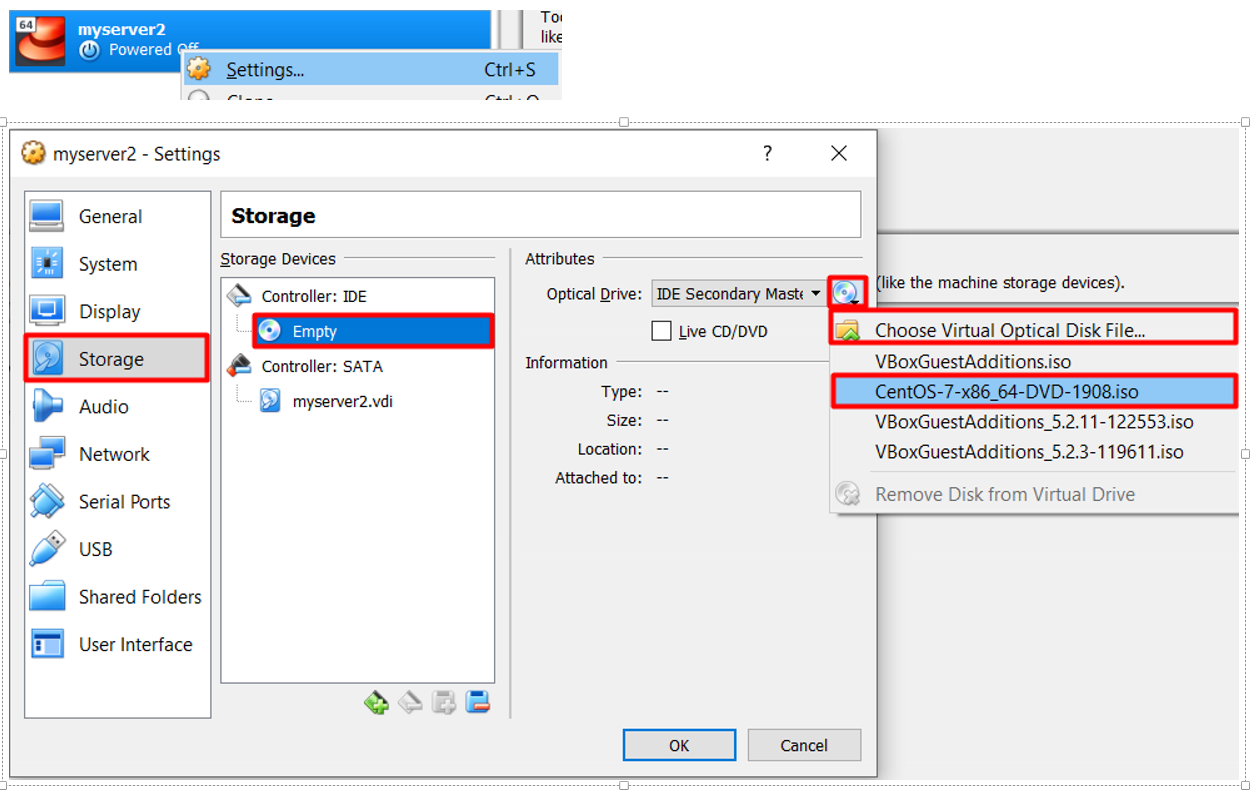
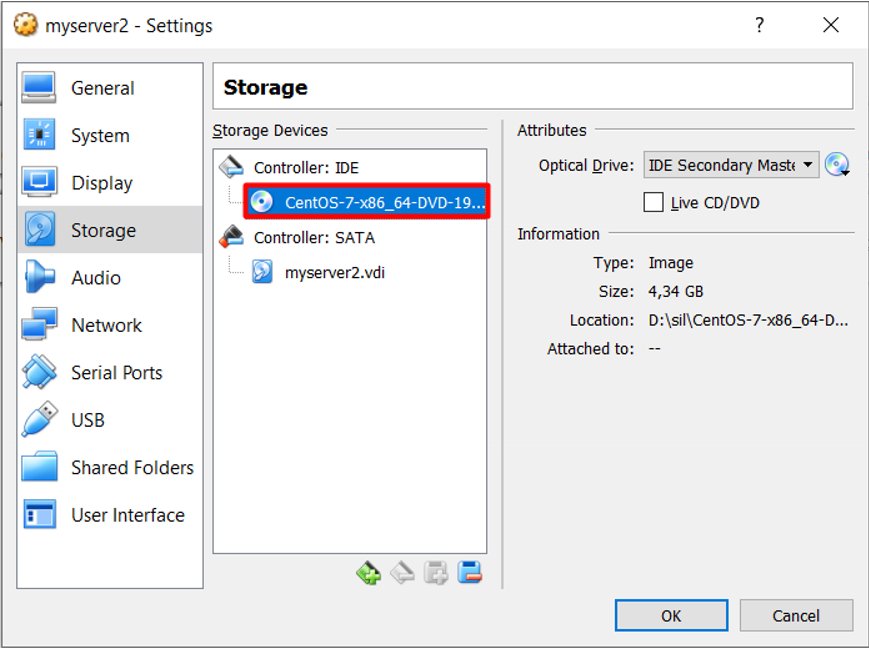
As seen below, I can choose CentOS DVD image in the list of optical disks because this is not the first time that I am using it. If it does not appear in the list then you should choose “Choose Virtual optical Disk File” option and select the downloaded CentOS image.
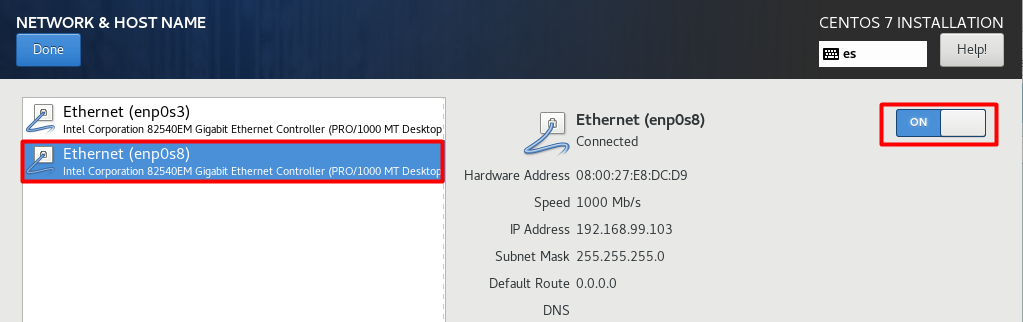
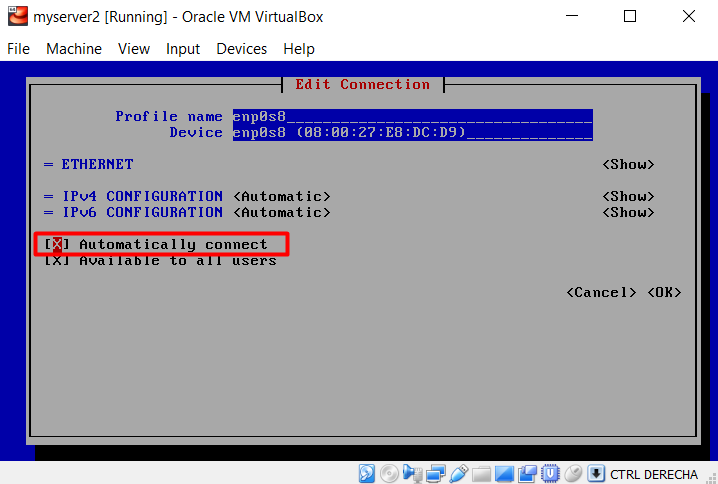
Let’s configure our private network:
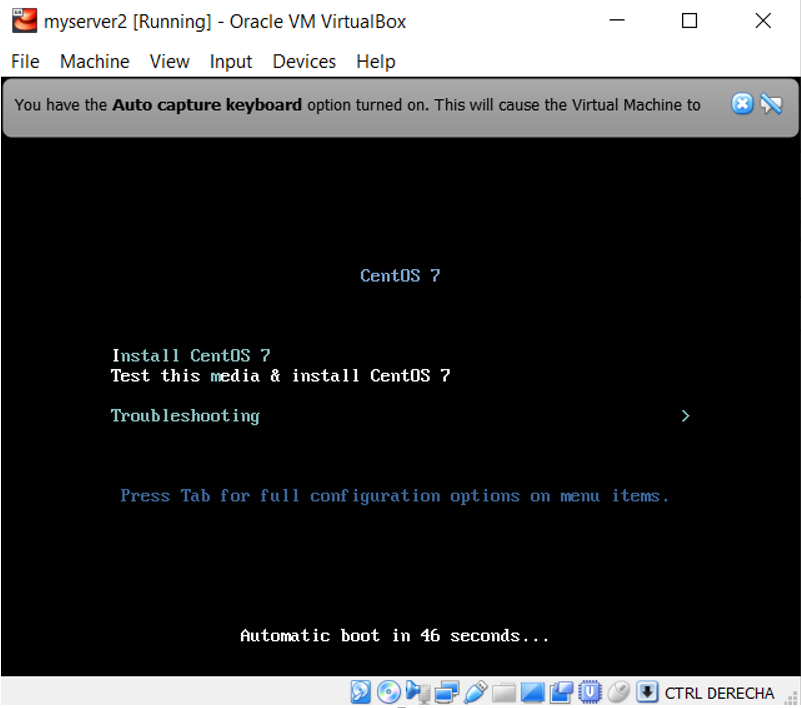
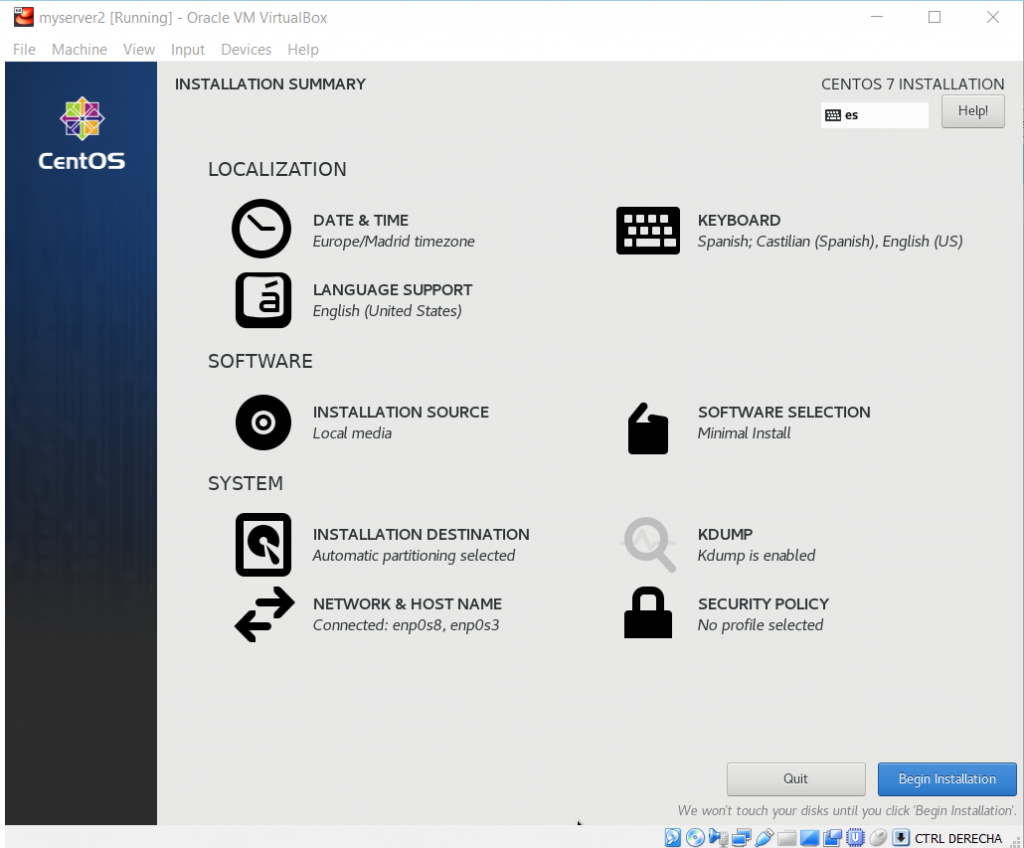
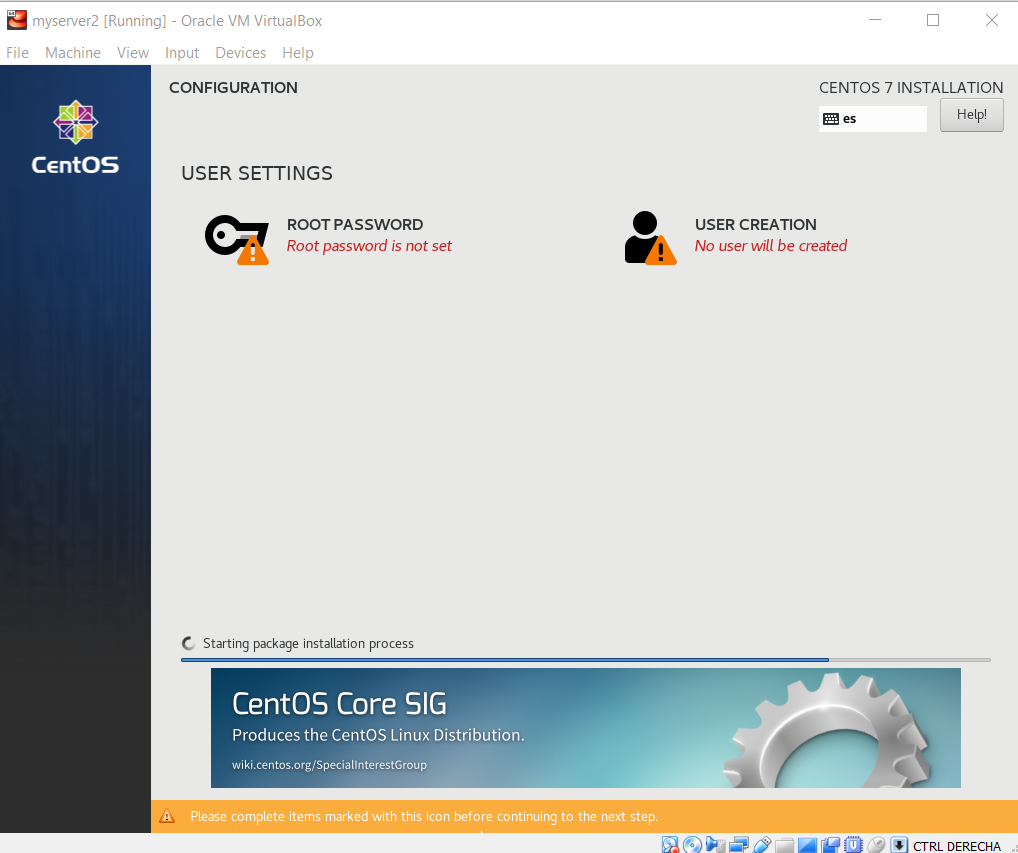
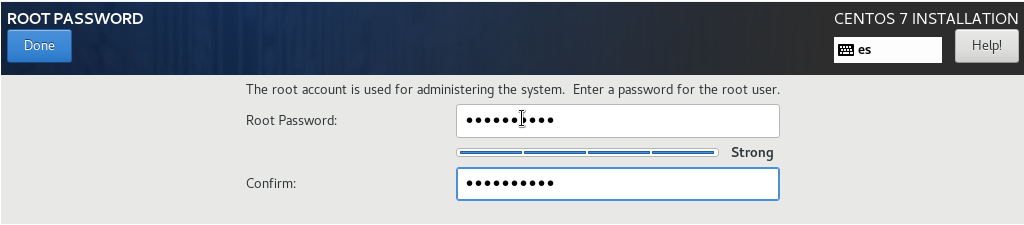
Installing operating system
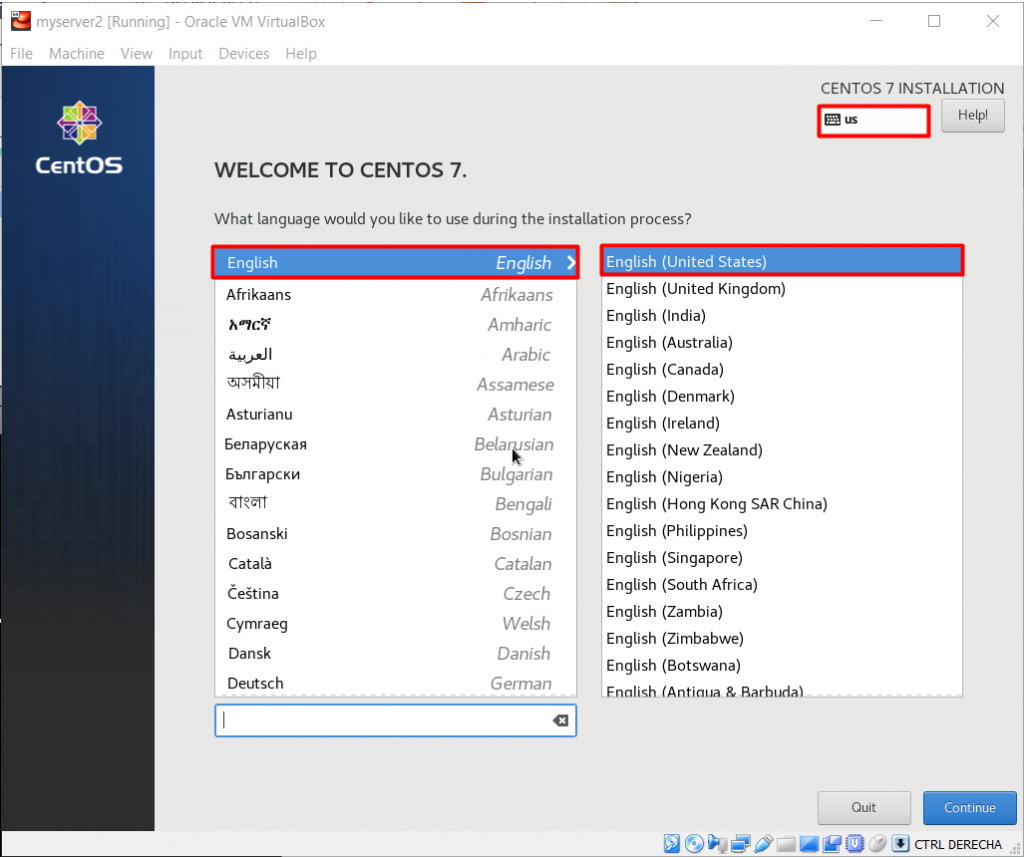
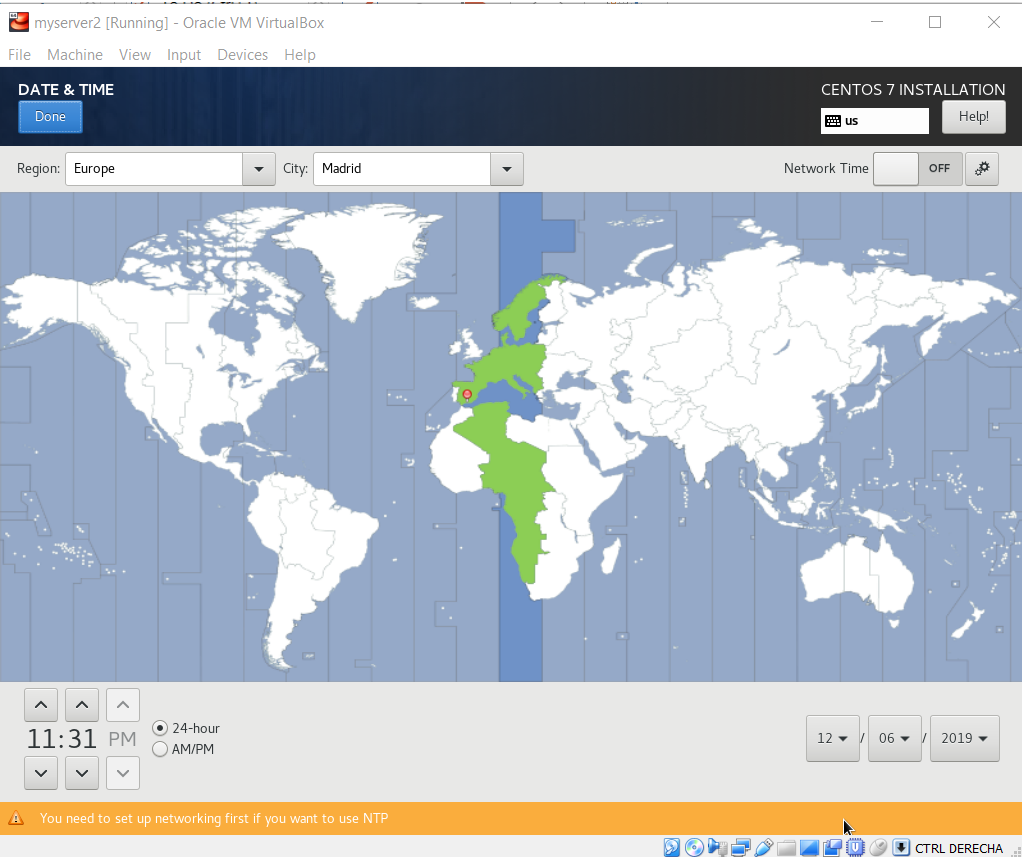
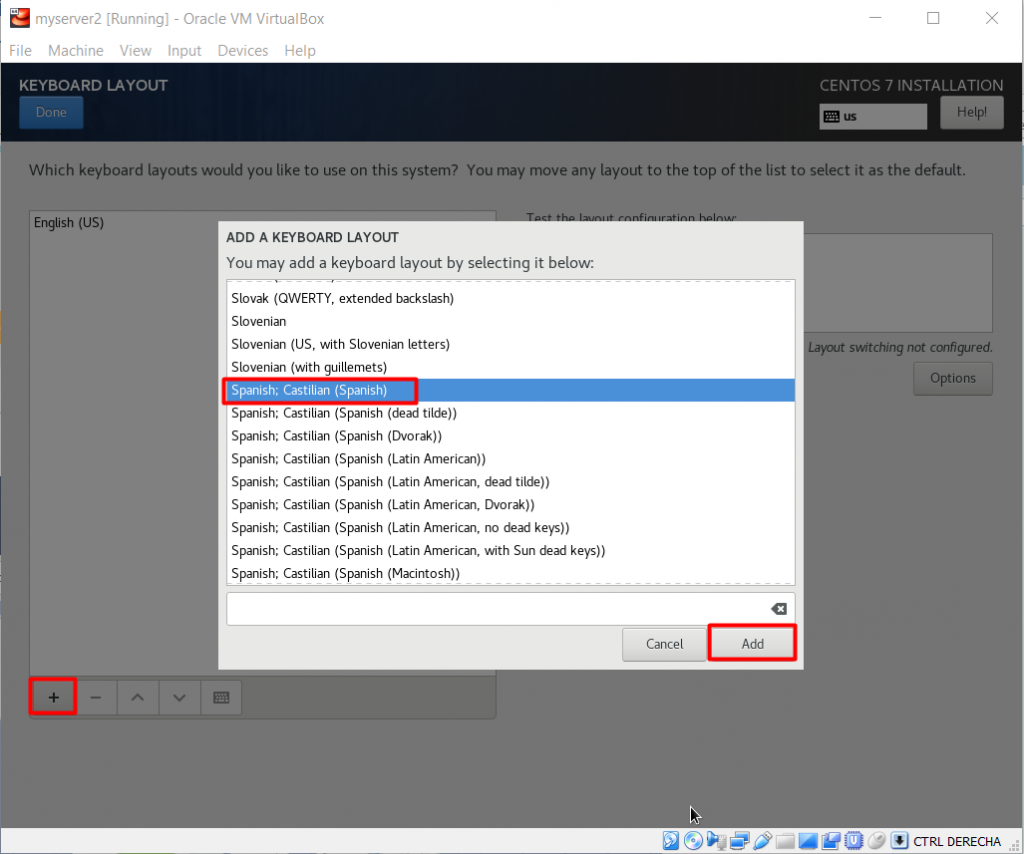
Now on, I will be starting new server and installing operating system. You should set date/time and keyboard depending on your environment. I recommend to leave language as English. It is much more easier to find reference information on web if text is in English.
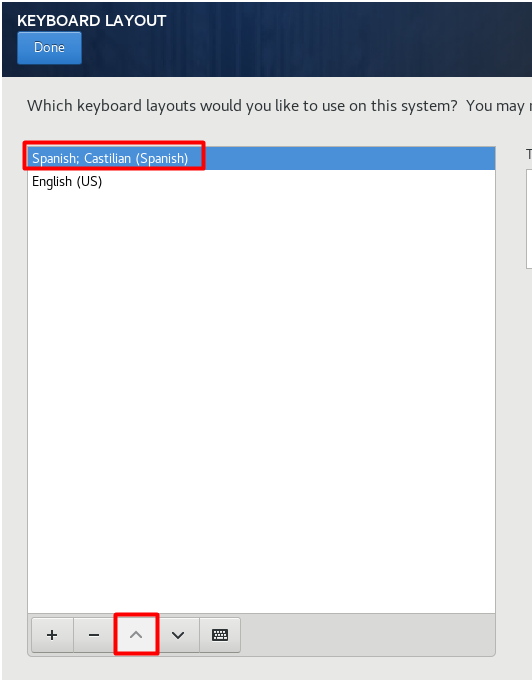
One last hint, do not try to change keyboard layout in the first screen at right upper corner (like me).Keyboard layout will be changed in the next screen.


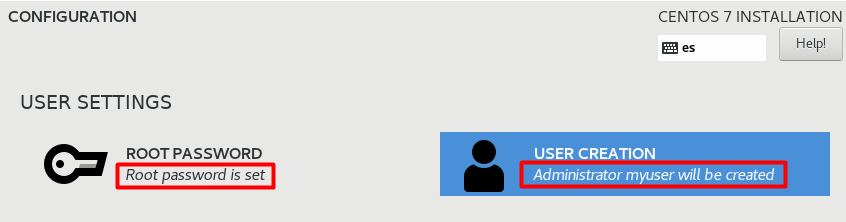
Important: After saving changes in advanced user configuration, I noticed that “Make this user Administrator” checkbox in previous screen is deselected. I selected it again.
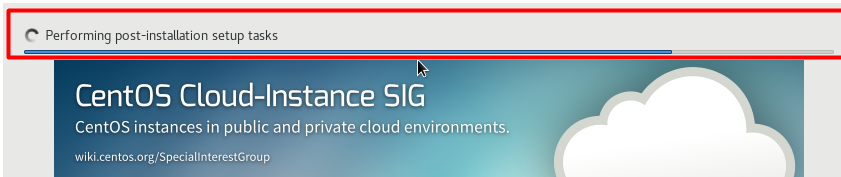
We need to wait for installation to finish:
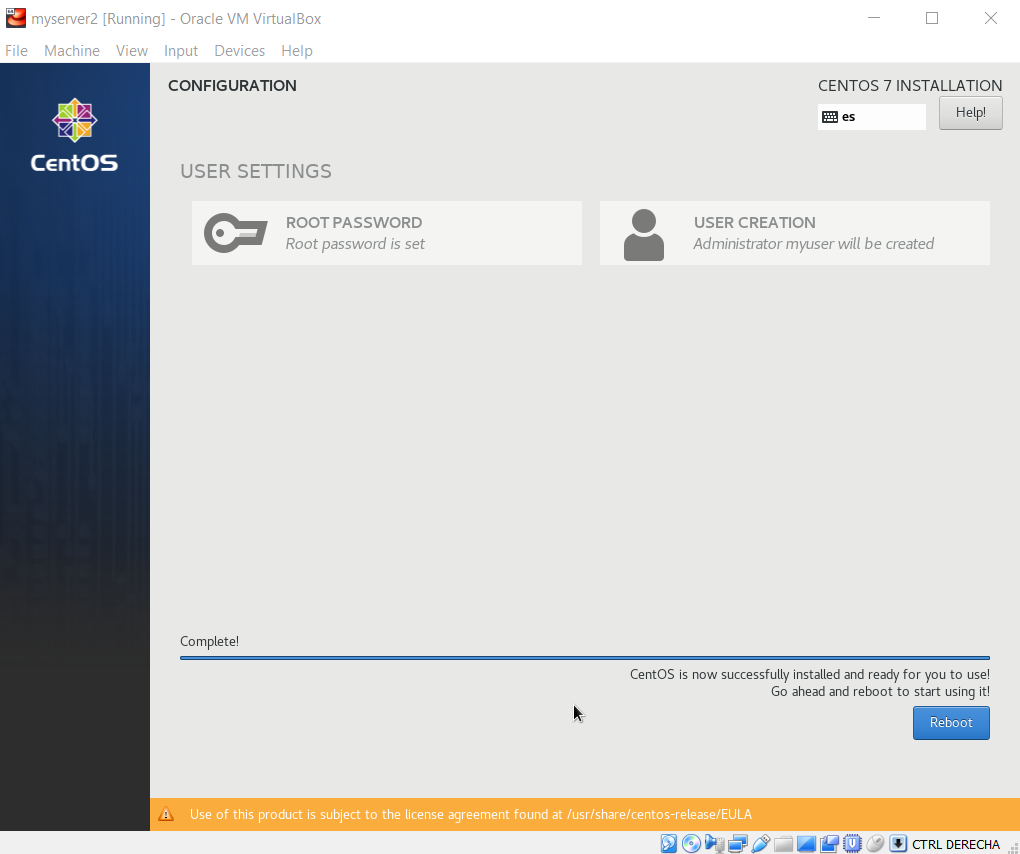
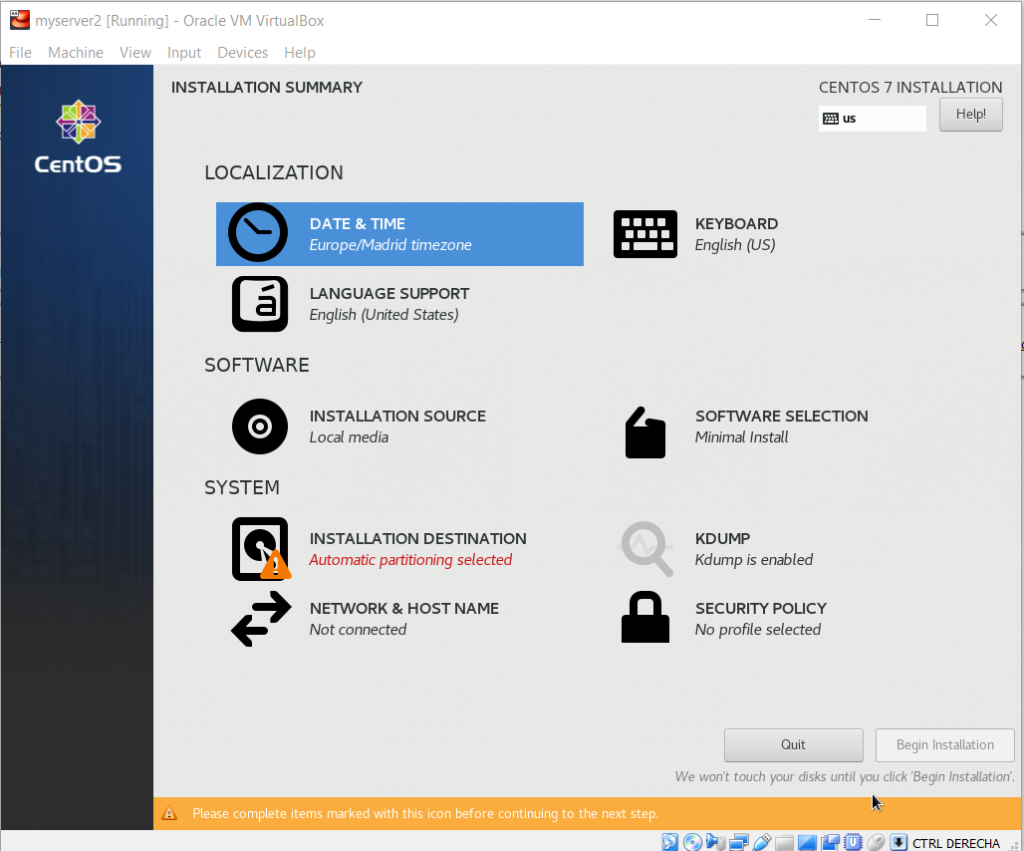
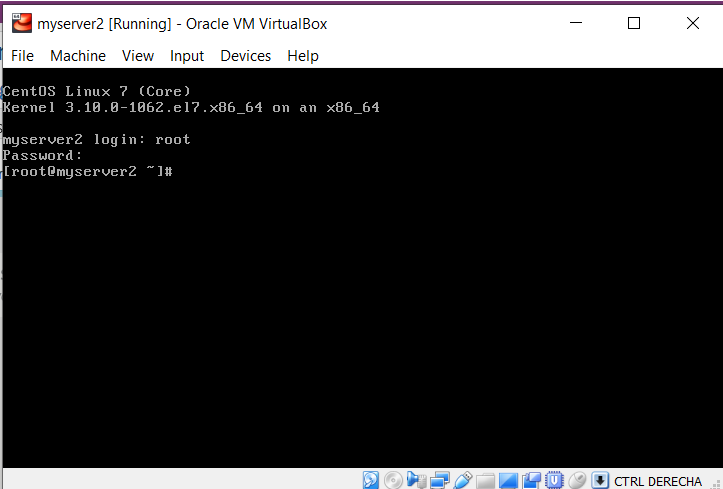
Final Steps
Our virtual server is created. First, let’s update the software:
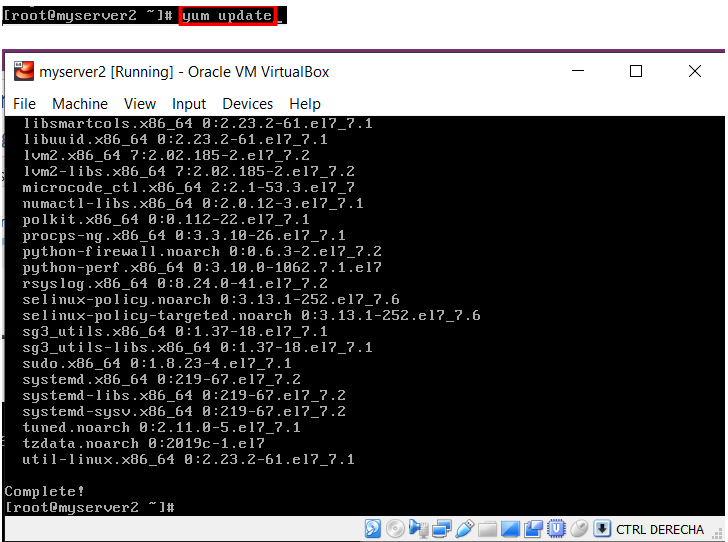
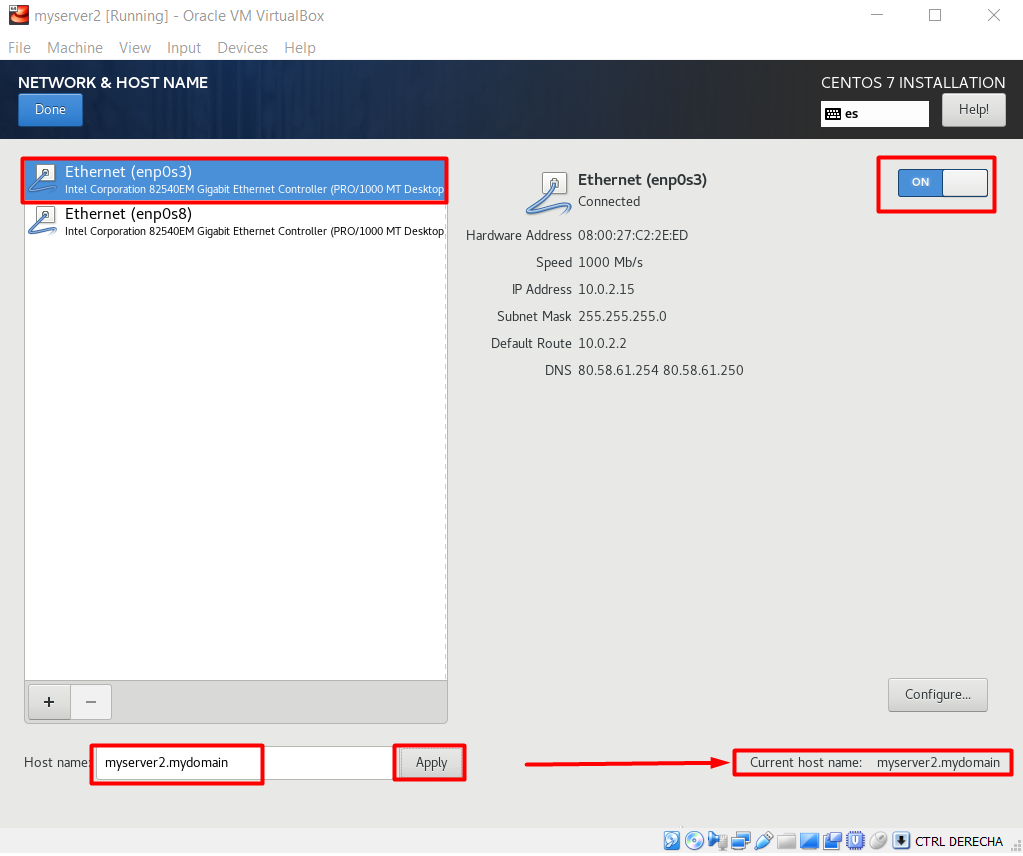
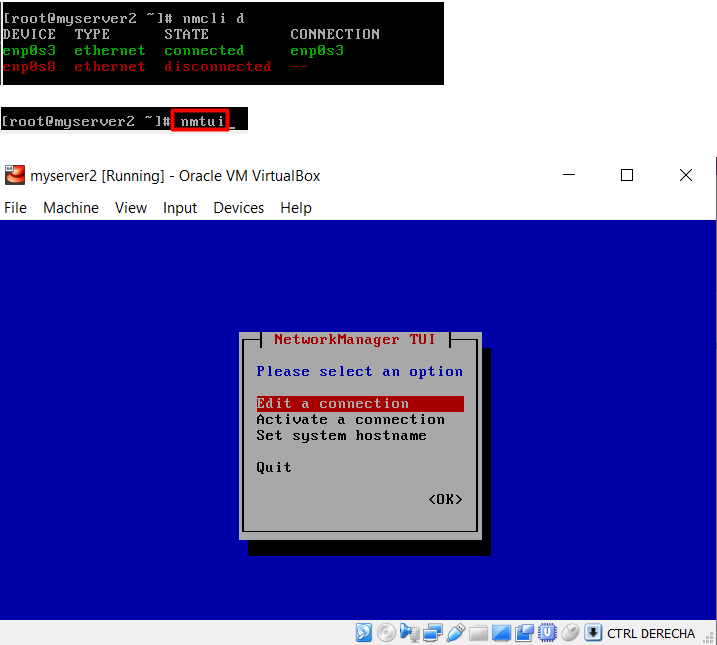
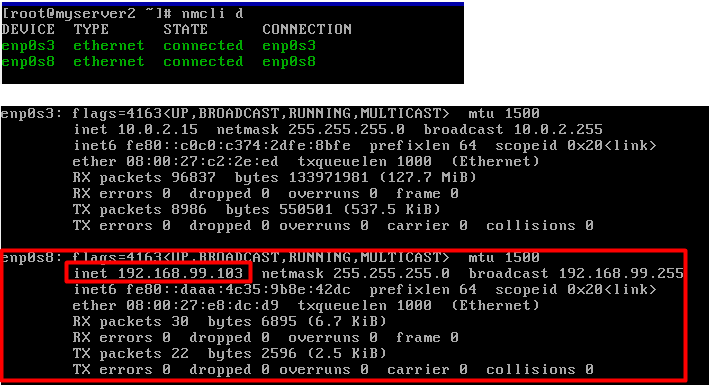
Important: If you have network connectivity problem while running yum, more likely network interfaces are not configured well. Refer to “nmcli d” and “nmtui” commands below to check interface configurations and fix the issue.
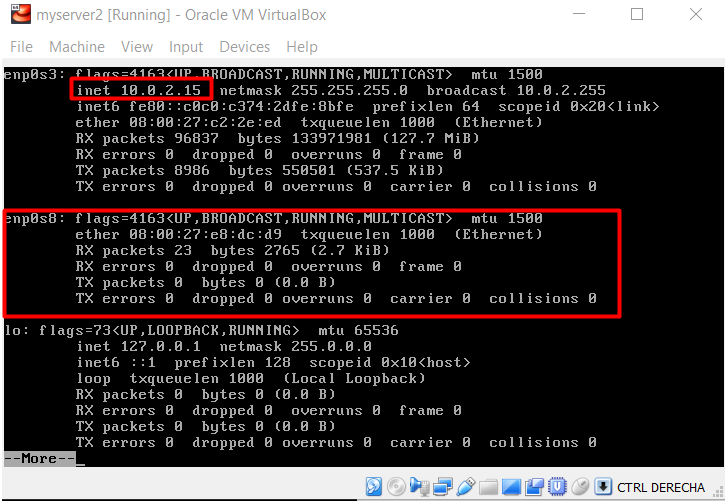
Let’s setup net tools:

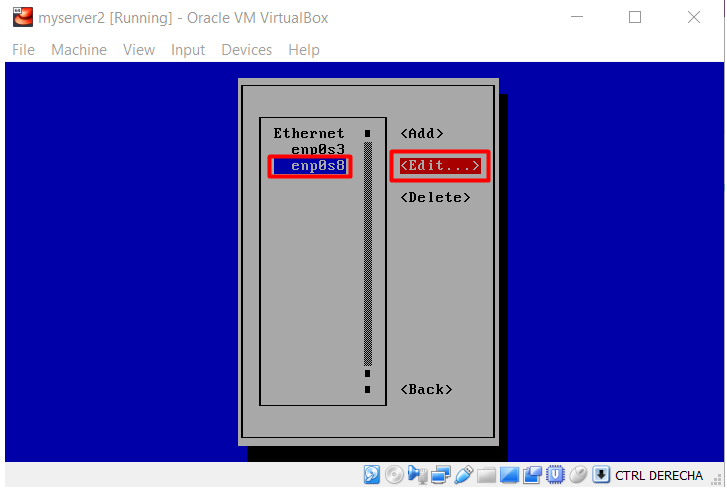
Check network interfaces to be sure that everything is OK. In my case, I see that my private network IP was not assigned. I fixed the issue using “nmtui” tool
And now everything seems fine:
Lets shutdown the server

Starting server without console and accessing through sshd
Now on we can start server without console. We can connect to the server using ssh. I have 3rd party antivirus/firewall and I did not face any connectivity problem In case of a problem, you may need to check antivirus/firewall settings.
